


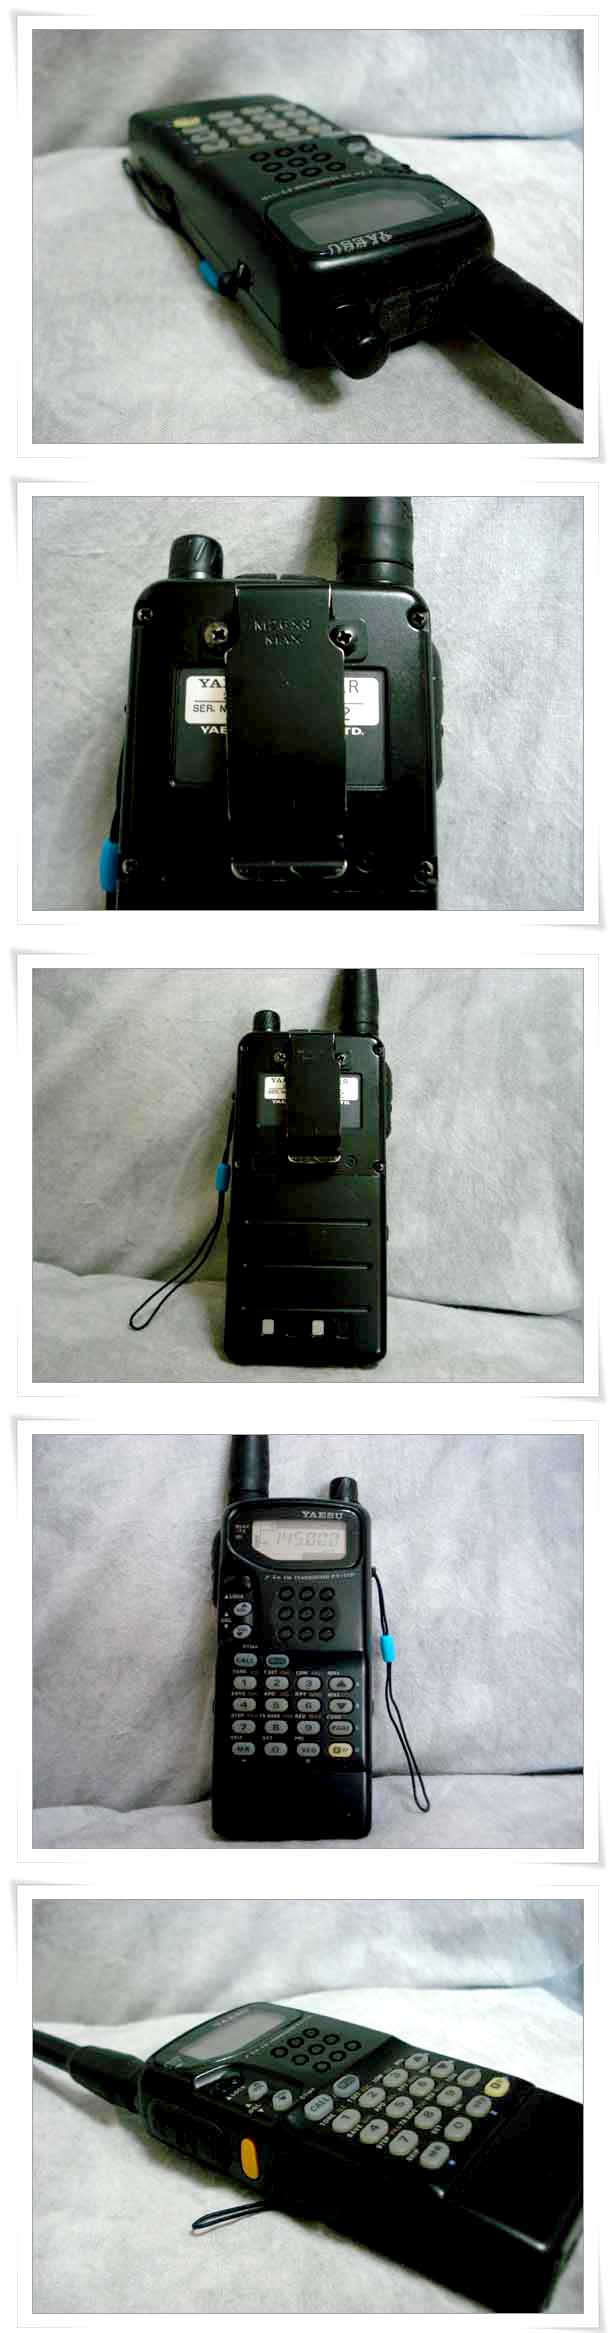
Yaesu의 Handy Tranceiver FT-11R입니다
일본 Yaesu입니다.
사용감은 있으나 전체적으로 깨끗하고 디자인도 좋습니다.
상태는 곱게 보관하였던 장비인지라 콜렉션용으로 구입하시면 좋을 것 같네요.
직거래가 좋으며 광주전남대 부근이라 타지역은 택배 가능하구요.
상태가 좋으니 네고는 하지 말아 주세요-가격15만원-->12만원
010-3526-6ㅇ3ㅇ(업무상 문자 먼저 부탁 드립니다)
******************************************************************
YAESU리그 초기화시키는방법
FT-11R (MR) + (VFO) 버튼을 누름과 동시에 POWER ON
******************************************************************
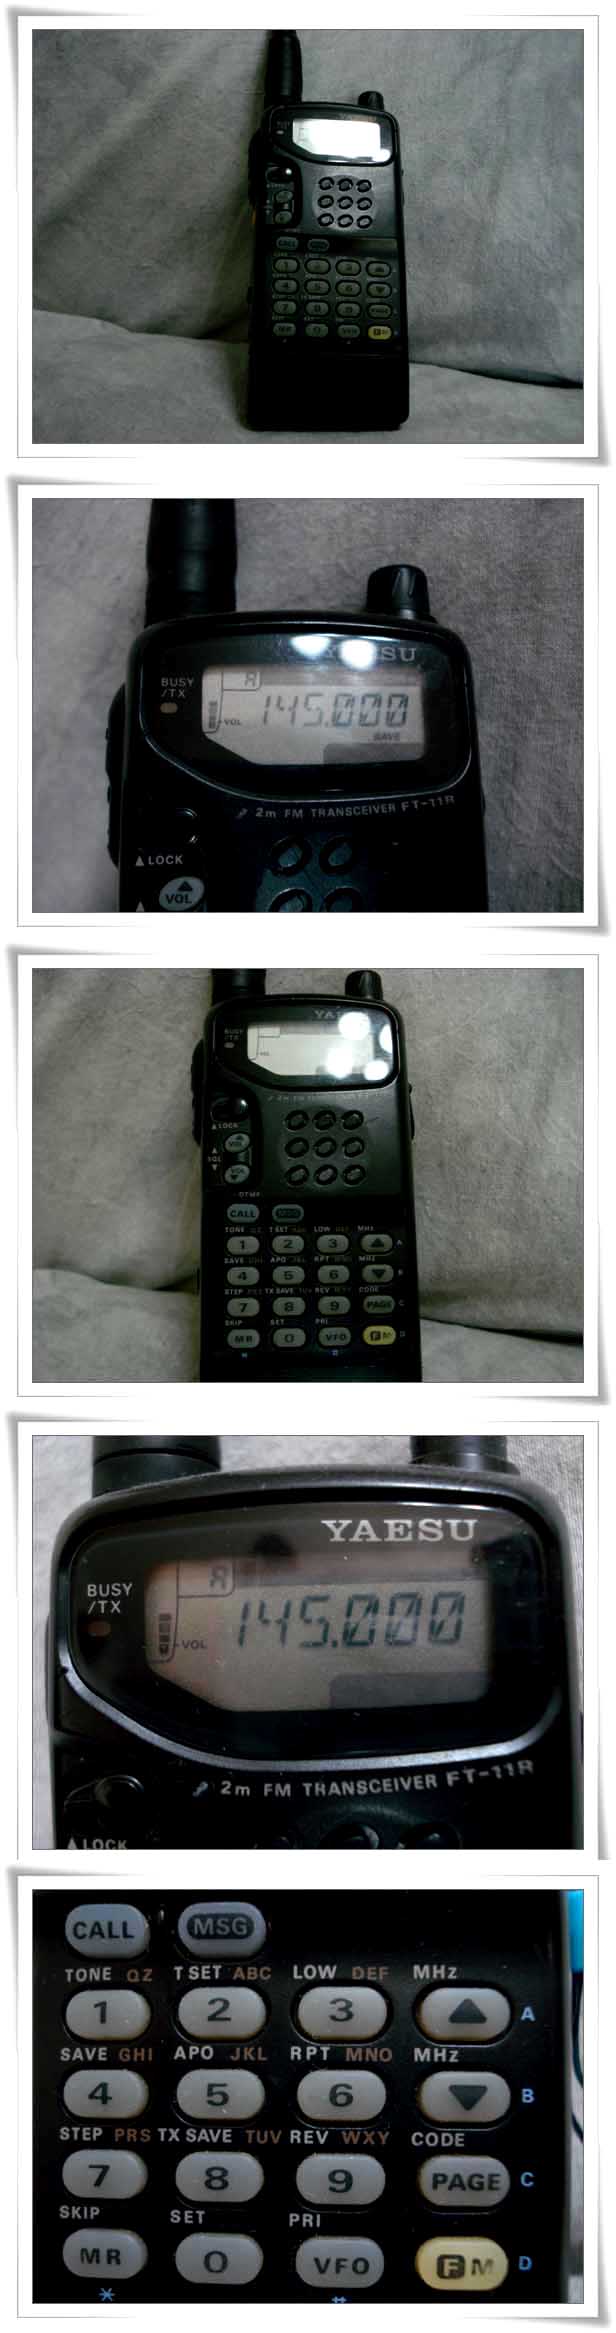
YAESU FT-11R
EXPANDED RF and Squelch adjustment
1- Remove battery and antenna & belt clip.
2- Remove screw from the back of the radio
NOTE: Location of battery release and Hand strp clip, they will be fall out.
3- Open the radio and remove silver battery shield. Hand strp clip & batt
release will fall out.)
4- Remove two silver screws from top circuit board.
5- Gently pry top and bottom circuit boards apart.
6- Locate and remove solder from pad #4.
7- Reassemble the radio. Remember the battery clip and hand strp clip.
8- Reset the microprocessor ( Press and hold [UP] & [DOWN] arrow keys and turn
the radio ON.
SEQUELS ADJUSTMENT:
Press and hold [CALL] [UP vol] [DOWN vol] and turn the power ON.
Press [UP Mhz] bottom 3 times. The display will show SQL TI.
inject a signal or tune to a string signal (weather channel etc )
Press [F] bottom for 1/2 second this sets the level. ("AD" will blink on display)
Press the [MR] key to set the level.
Press [CALL] to store the level in EPROM memory.
일본 Yaesu입니다.
사용감은 있으나 전체적으로 깨끗하고 디자인도 좋습니다.
상태는 곱게 보관하였던 장비인지라 콜렉션용으로 구입하시면 좋을 것 같네요.
직거래가 좋으며 광주전남대 부근이라 타지역은 택배 가능하구요.
상태가 좋으니 네고는 하지 말아 주세요-가격15만원-->12만원
010-3526-6ㅇ3ㅇ(업무상 문자 먼저 부탁 드립니다)
******************************************************************
YAESU리그 초기화시키는방법
FT-11R (MR) + (VFO) 버튼을 누름과 동시에 POWER ON
******************************************************************
YAESU FT-11R
EXPANDED RF and Squelch adjustment
1- Remove battery and antenna & belt clip.
2- Remove screw from the back of the radio
NOTE: Location of battery release and Hand strp clip, they will be fall out.
3- Open the radio and remove silver battery shield. Hand strp clip & batt
release will fall out.)
4- Remove two silver screws from top circuit board.
5- Gently pry top and bottom circuit boards apart.
6- Locate and remove solder from pad #4.
7- Reassemble the radio. Remember the battery clip and hand strp clip.
8- Reset the microprocessor ( Press and hold [UP] & [DOWN] arrow keys and turn
the radio ON.
SEQUELS ADJUSTMENT:
Press and hold [CALL] [UP vol] [DOWN vol] and turn the power ON.
Press [UP Mhz] bottom 3 times. The display will show SQL TI.
inject a signal or tune to a string signal (weather channel etc )
Press [F] bottom for 1/2 second this sets the level. ("AD" will blink on display)
Press the [MR] key to set the level.
Press [CALL] to store the level in EPROM memory.


